patchcraftpro

The Ultimate Guide: How to Iron On Patches Perfectly Every Time

Got your hands on an incredible new patch but worried about ruining your favorite jacket? If you are wondering exactly how to iron on patches without damaging your clothes, you are in the right place. Whether you are customizing a vintage denim jacket or personalizing your daily gear, we are sharing our factory-level secrets to […]

Flat lay of tools needed for how to iron on patches, including an iron, fabric, and patches.

Got your hands on an incredible new patch but worried about ruining your favorite jacket? If you are wondering exactly how to iron on patches without damaging your clothes, you are in the right place. Whether you are customizing a vintage denim jacket or personalizing your daily gear, we are sharing our factory-level secrets to ensure your patches stay securely in place every single time.

5 Easy Steps on How to Iron on Patches

Got your hands on an incredible new patch but worried about ruining your favorite jacket or having the patch peel off after one wash? If you are wondering exactly how to iron on patourout cloing .

Whether you are working on a custom denim jacket DIY project, personalizing your daily gear, or simply repairing torn clothes , knowing the correct application technique is a complete game-changer. exprod exactly how to make them stick permanently. In this ultimate guide, we are sharing our professional secrets to ensure your patches stay securely in place, every single time.

What You Need Before Starting

Before you plug in your iron, let’s gather your supplies. Proper preparation is the key to a flawless and long-lasting application.

Flat lay of tools needed for how to iron on patches, including an iron, fabric, and patches.

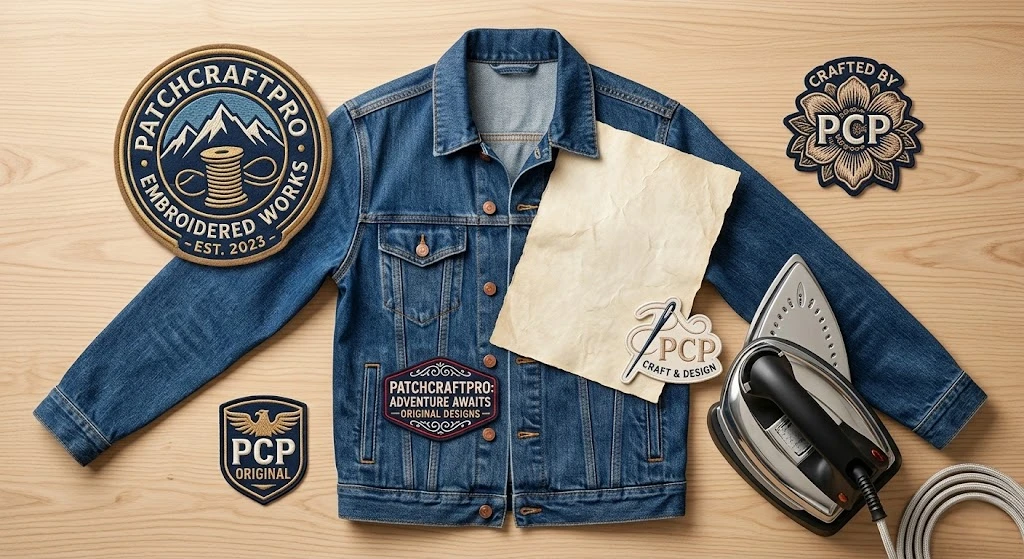
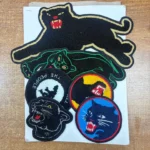
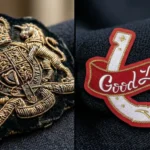
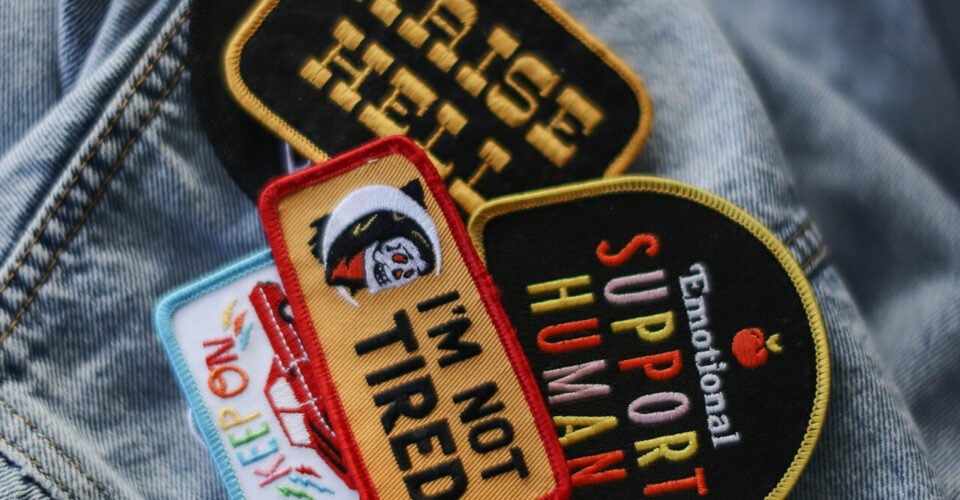
  • Your Patch: A high-quality iron-on patch (we highly recommend using premium iron on patches for the best adhesive results).

  • The Base Item: A clean, freshly washed, and completely dried piece of clothing or accessory.

  • An Iron: A standard household iron will do the trick perfectly.

  • A Pressing Cloth: A thin cotton towel, pillowcase, or piece of parchment paper to protect the patch’s surface.

  • An Ironing Board: Or any sturdy, flat, and heat-resistant surface.

Fabric Compatibility: How to Apply Patches to Denim/Leather

Not all fabrics are created equal when it comes to heat. The strong adhesive on the back of our patches needs significant heat to melt and bond properly with the fabric fibers.

  • The Best Matches: Cotton, denim, and canvas are the absolute best materials. They can easily withstand the high heat required to activate the adhesive without scorching.

  • Fabrics to Avoid: You might be wondering how to apply patches to denim/leather . While denim is perfect, you must avoid using hot irons on real leather, nylon, rayon, or highly elhot willwe real leather, nylon, rayon, or highly elel willr. are working with leather or nylon, we recommend using sew-on backings instead.

Step-by-Step: Iron on Patch Instructions

Ready? Let’s get that patch permanently attached. Follow these complete iron on patch instructions for the best results.

Step 1: Prep and the Best Temperature for Iron on Patches

Turn your iron to the highest temperature setting that your fabric can safely handle. Usually, the “Cotton” setting (around 300°F to 350°F / 150°C to 170°C) is the best temper for ipledm . Steam introduces moisture and prevents the adhesive from bonding. Pre-iron the spot where you want the patch to go for a few seconds. A warm surface helps the glue grip immediately.

Step 2: Perfect Placement

Place your patch exactly where you want it. This step is crucial, whether you are doing a complex backpack patch application or placing a small logo on a shirt. Once you are happy with the position, our才 layt

Step 3: Press, Don’t Iron!

Place the heated iron directly onto the pressing cloth over the patch. Press down firmly with your body weight. Do not move the iron back and forth! Rubbing can shift the patch.

Step 4: Heat from the Inside

Turn the garment inside out. Iron the back of the patch directly against the fabric (again, using firm pressure) for another 15 to 20 seconds. This draws the melted adhesive deep into the fabric fibers.

Step 5: Cool Down

Remove the iron and let the garment completely cool down for at least 10 minutes. Resist the urge to pick at the edges while the glue is still warm!

How to Keep Iron on Patches from Falling Off

You’ve successfully applied your patch! If you want to know how to keep iron on patches from falling off over time, follow these pro tips:

  • Washing: Always turn your garment inside out before washing. Wash on a gentle, cold water cycle.

  • Drying: Air-drying is always the best option.

  • The Ultimate Hold: If you are applying a patch to an item that will see heavy wear and tear, we highly recommend adding a few simple stitches around the edge. It takes just a min minutes and guar minute.

Ready to Start Customizing?

Now that you are an expert at applying patches, it’s time to get creative. Whether you are looking for ready-to-ship designs or want to bring your own logo to life, we’ve got you covered loop you covered paper who pot toa you cover you cwourn conducts you nwourwulwulwem ​​wry punwulwemwry pwemwry psw. get a quote on your custom embroidered patches !

Leave a Reply

Your email address will not be published. Required fields are marked *

Select the fields to be shown. Others will be hidden. Drag and drop to rearrange the order.
  • Image
  • SKU
  • Rating
  • Price
  • Stock
  • Availability
  • Add to cart
  • Description
  • Content
  • Weight
  • Dimensions
  • Additional information
Click outside to hide the comparison bar
Compare
Shopping cart close